Art 6/7 students researched the art of MC Escher, and learned how to make a SLIDE and ROTATIONAL tessellation. Next they explored 5 different mediums, and tested different texture plates for possible use. Lastly, they selected a COLOUR STORY from their Colour Theory study. All this en route to their final project.
Art 6/7 students researched the art of MC Escher, and learned how to make a SLIDE and ROTATIONAL tessellation. Next they explored 5 different mediums, and tested different texture plates for possible use. Lastly, they selected a COLOUR STORY from their Colour Theory study. All this en route to their final project.
Art 6/7 students researched the art of MC Escher, and learned how to make a SLIDE and ROTATIONAL tessellation. Next they explored 5 different mediums, and tested different texture plates for possible use. Lastly, they selected a COLOUR STORY from their Colour Theory study. All this en route to their final project.
Art 6/7 students researched the art of MC Escher, and learned how to make a SLIDE and ROTATIONAL tessellation. Next they explored 5 different mediums, and tested different texture plates for possible use. Lastly, they selected a COLOUR STORY from their Colour Theory study. All this en route to their final project.
All students had a chance to use 4 different mediums as preparation for our Miró inspired painting project next week. They were also introduced to the AQUA BRUSH. Students can tell you how to load, use and clean the aqua brush and which mediums require the aqua brush. The small regular brush can be used with all 4 mediums. They also know how to activate the WC Pencils and the Inktense Pencils and apply the Liquid WC and Yarka Pan Paints. I've included photos of each medium ... Christmas IS coming!!
Sm, M & L aqua brushes
SAX LIQUID WATERCOLOURS
WATERCOLOUR PENCILS
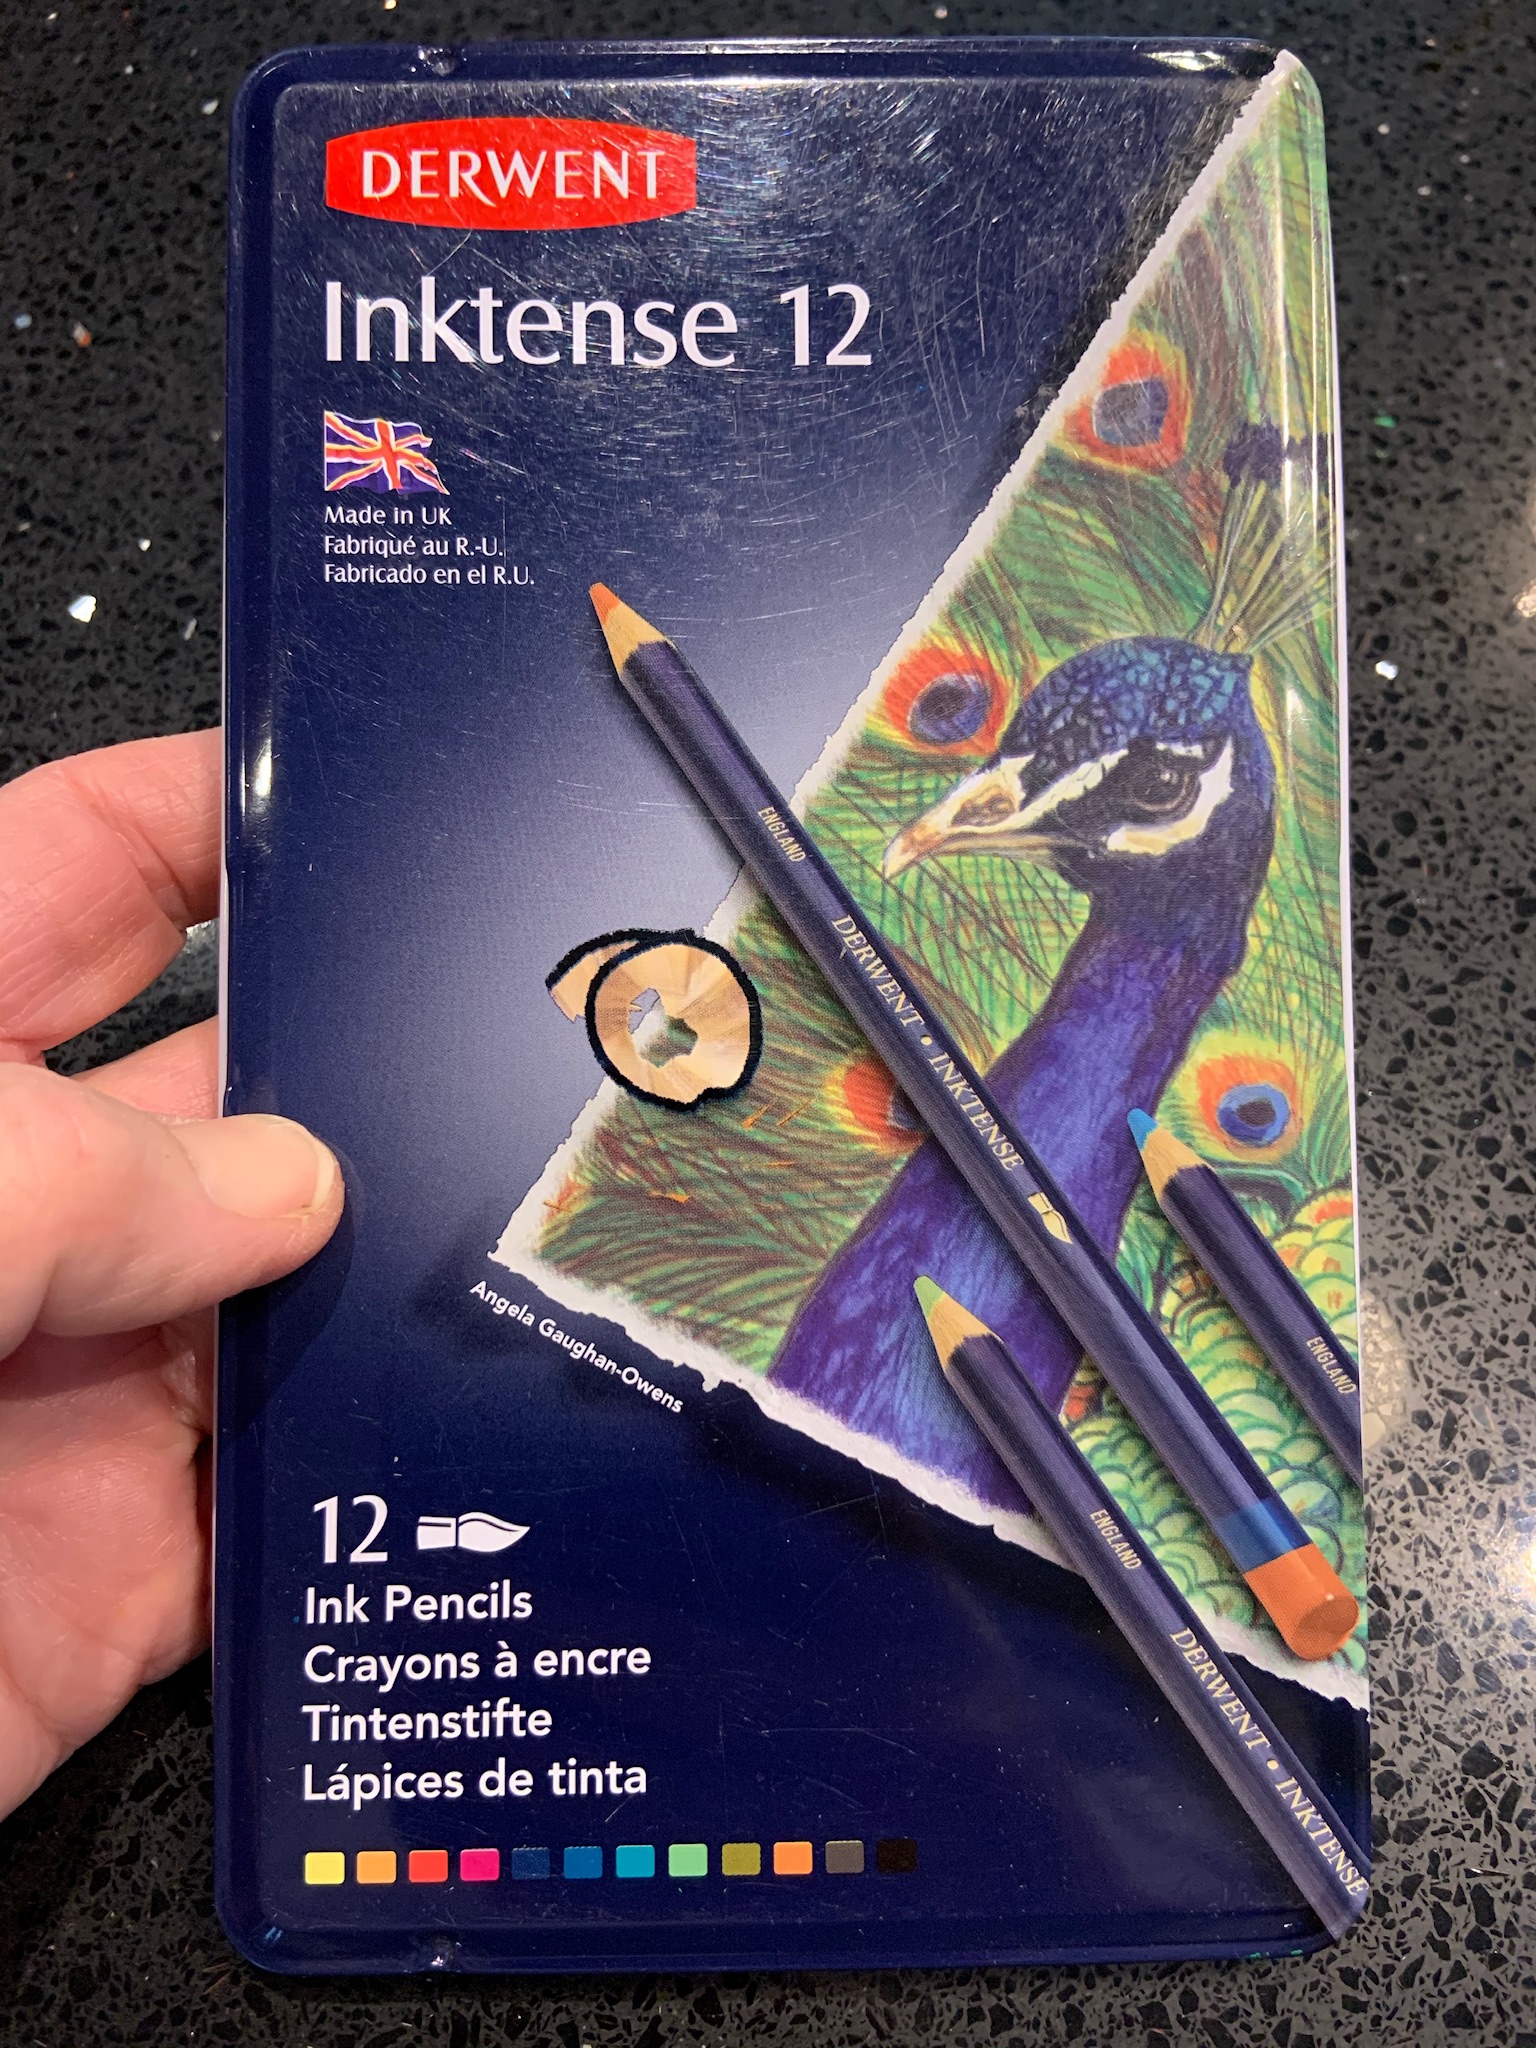
INKTENSE PENCILS
YARKA SEMI-MOIST PAN PAINTS
Stay tuned for our MIRÓ paintings ... COMING SOON!
If you have any questions, or photos to share, please contact me at:
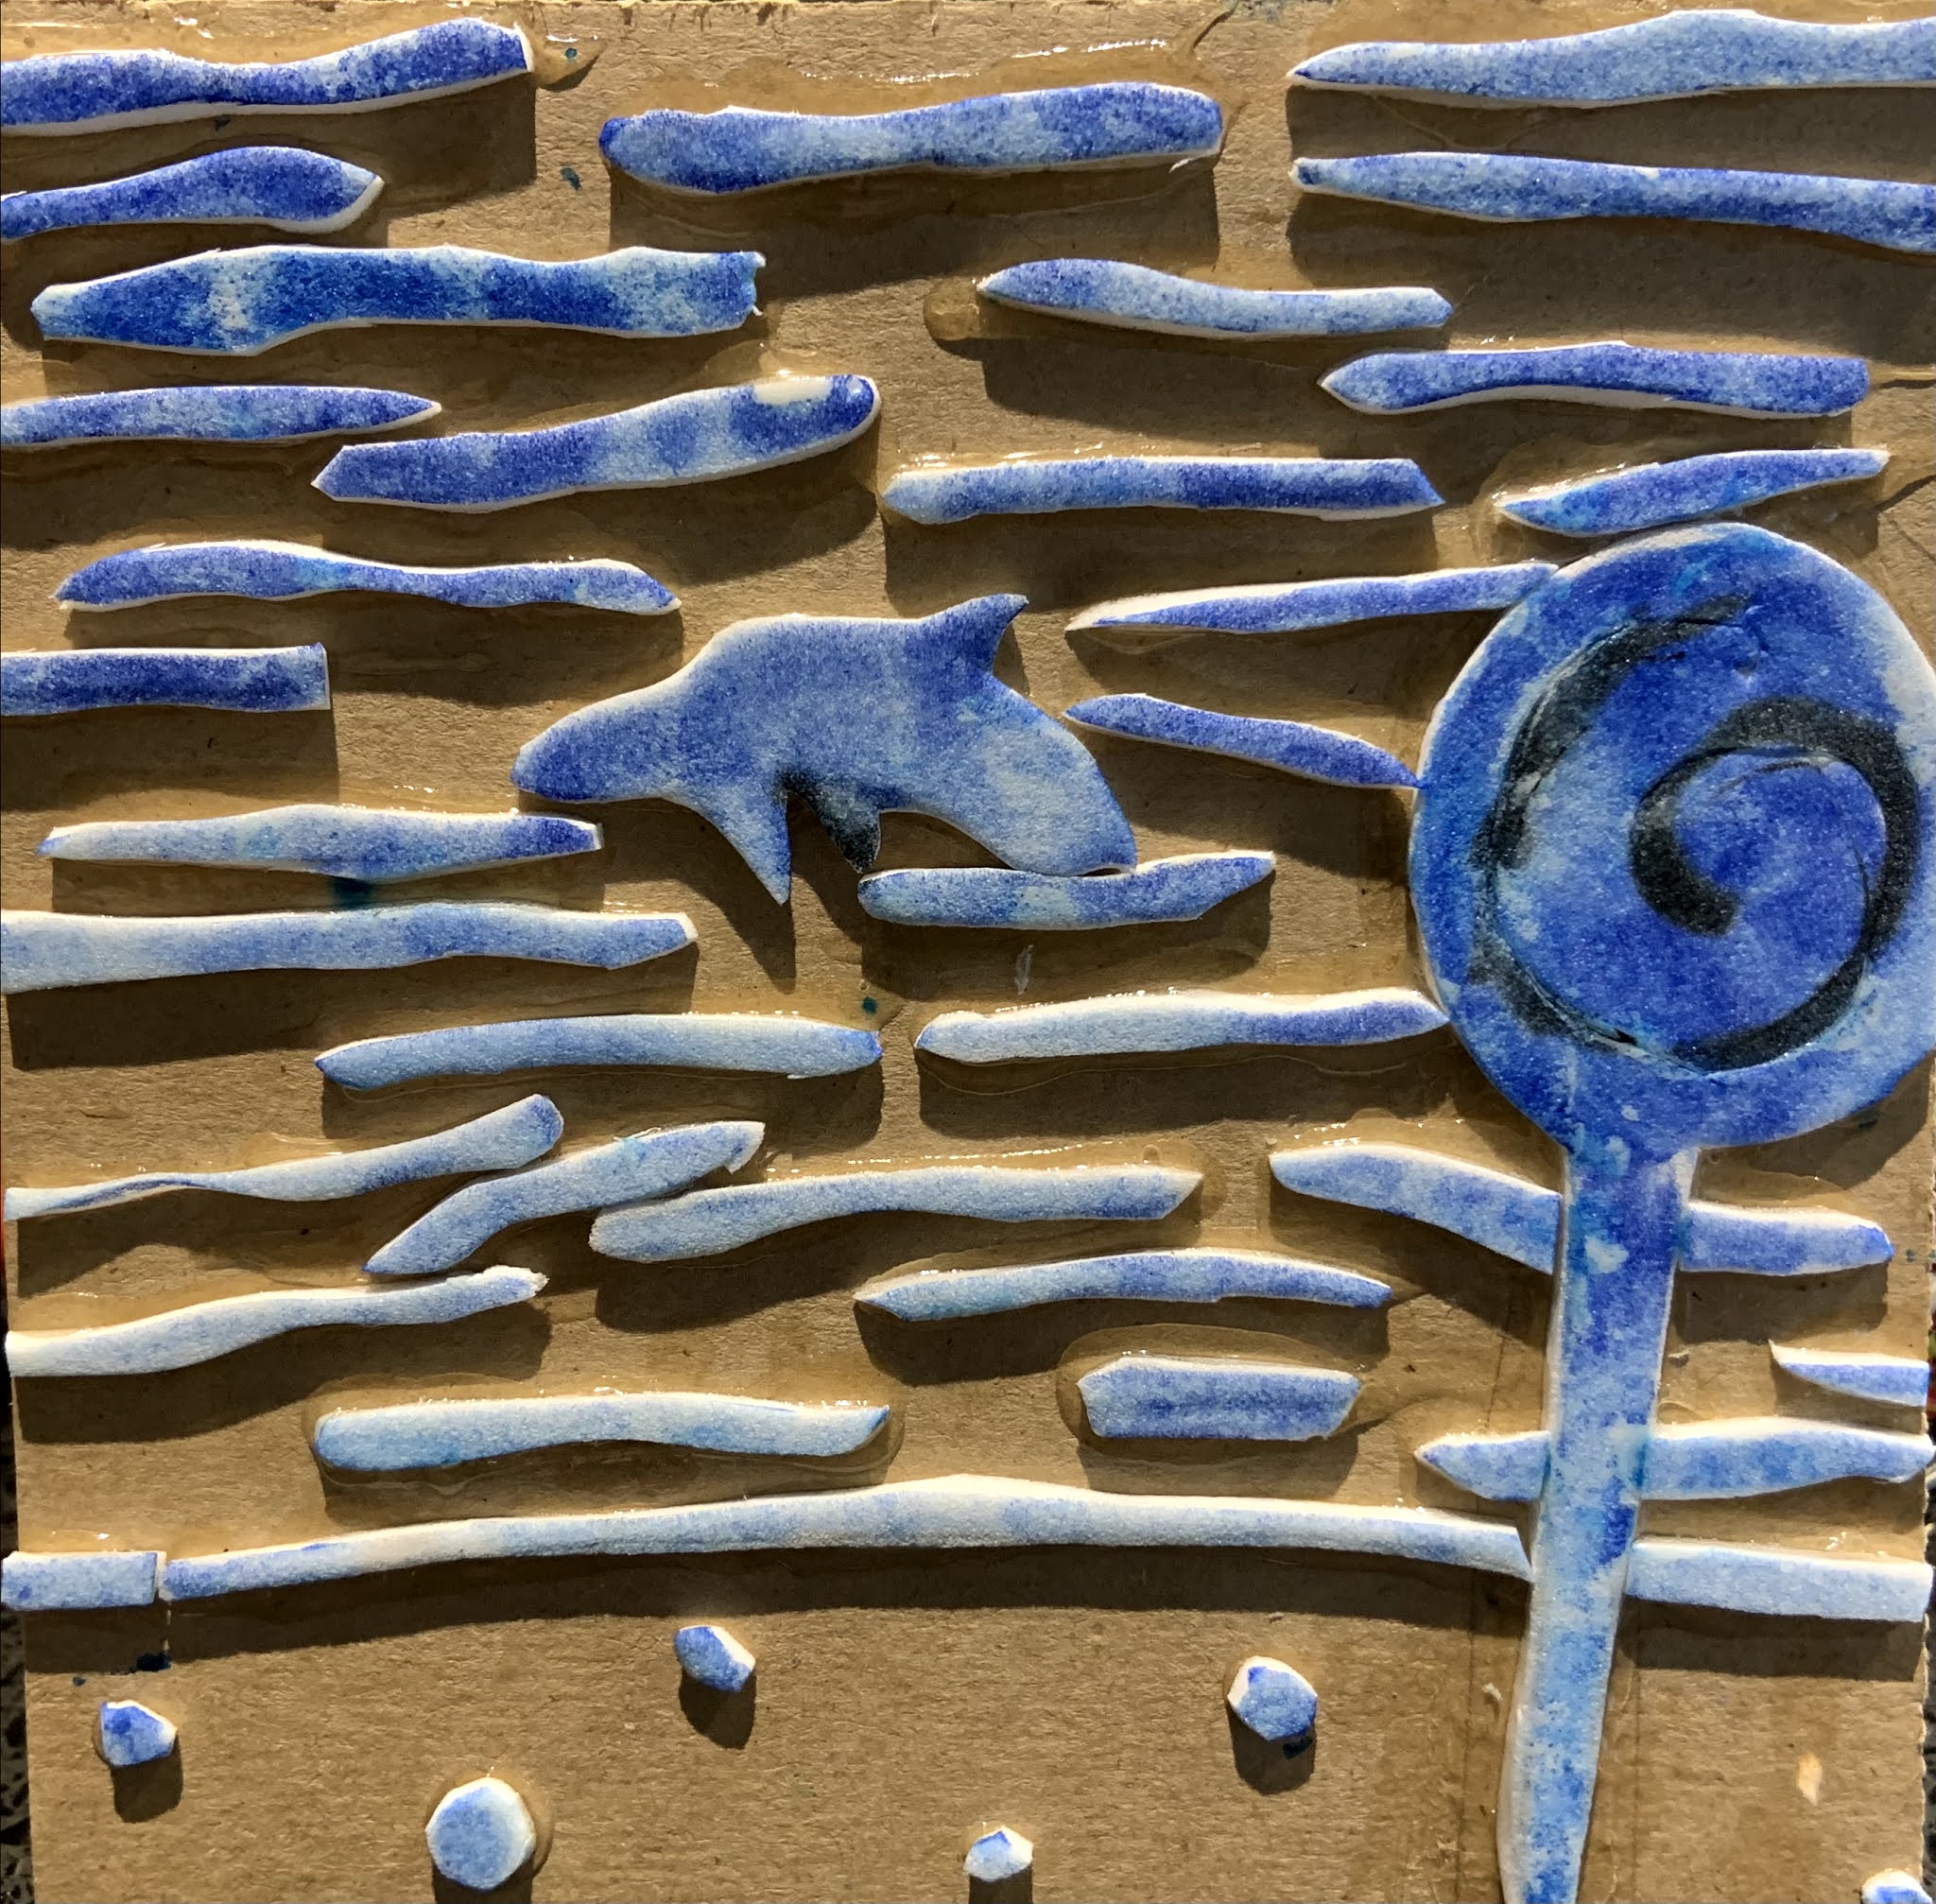
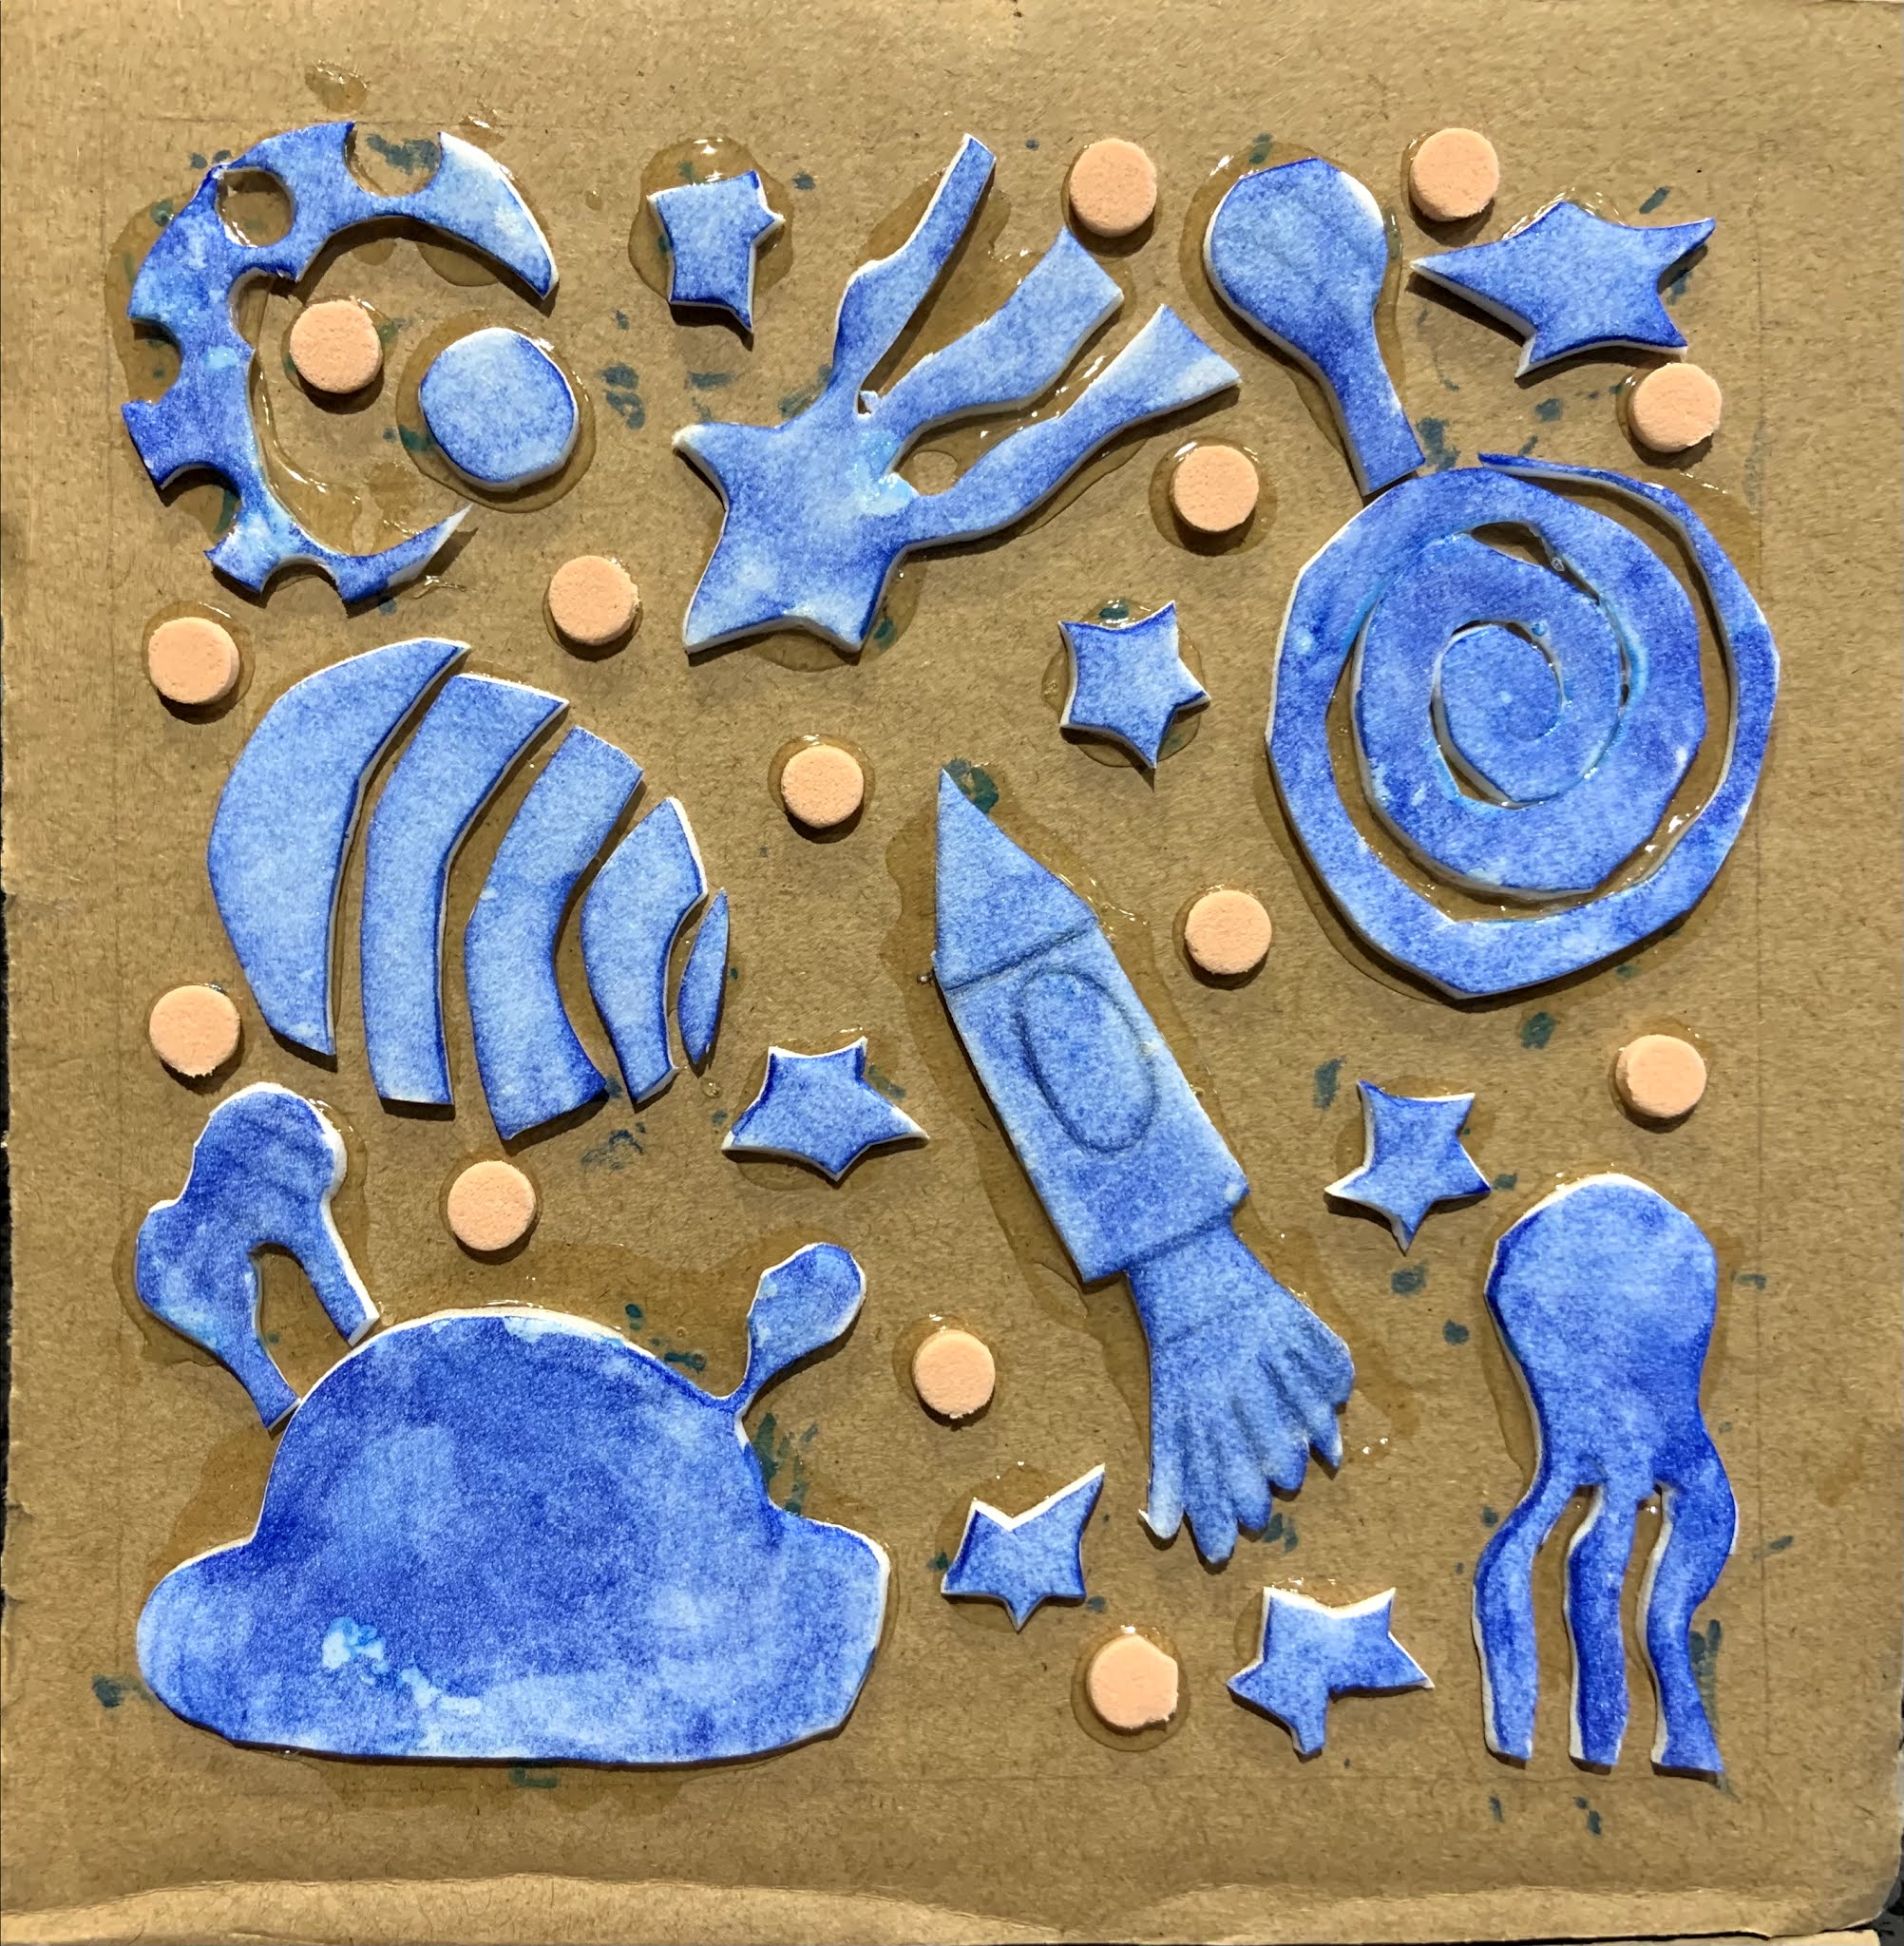
Collagraphy is a simple method of printmaking using a board or firm background
to add collage materials, which are glued on, to create a relief surface. These materials can include cardboard, yarn, leaves, foam and more. We used foam in class to build our collage. Eventually we will use printers ink to 'pull' a print from our collage design.
Students identified key elements in a scape, then explored and drew a variety of SCAPES (city, garden, farm, space, medieval and ocean) in their sketchbook. They then used a TRACER square (5"x5" or 12cm x 12cm) to trace in their SKBK where they finalized their FAV' scape design.
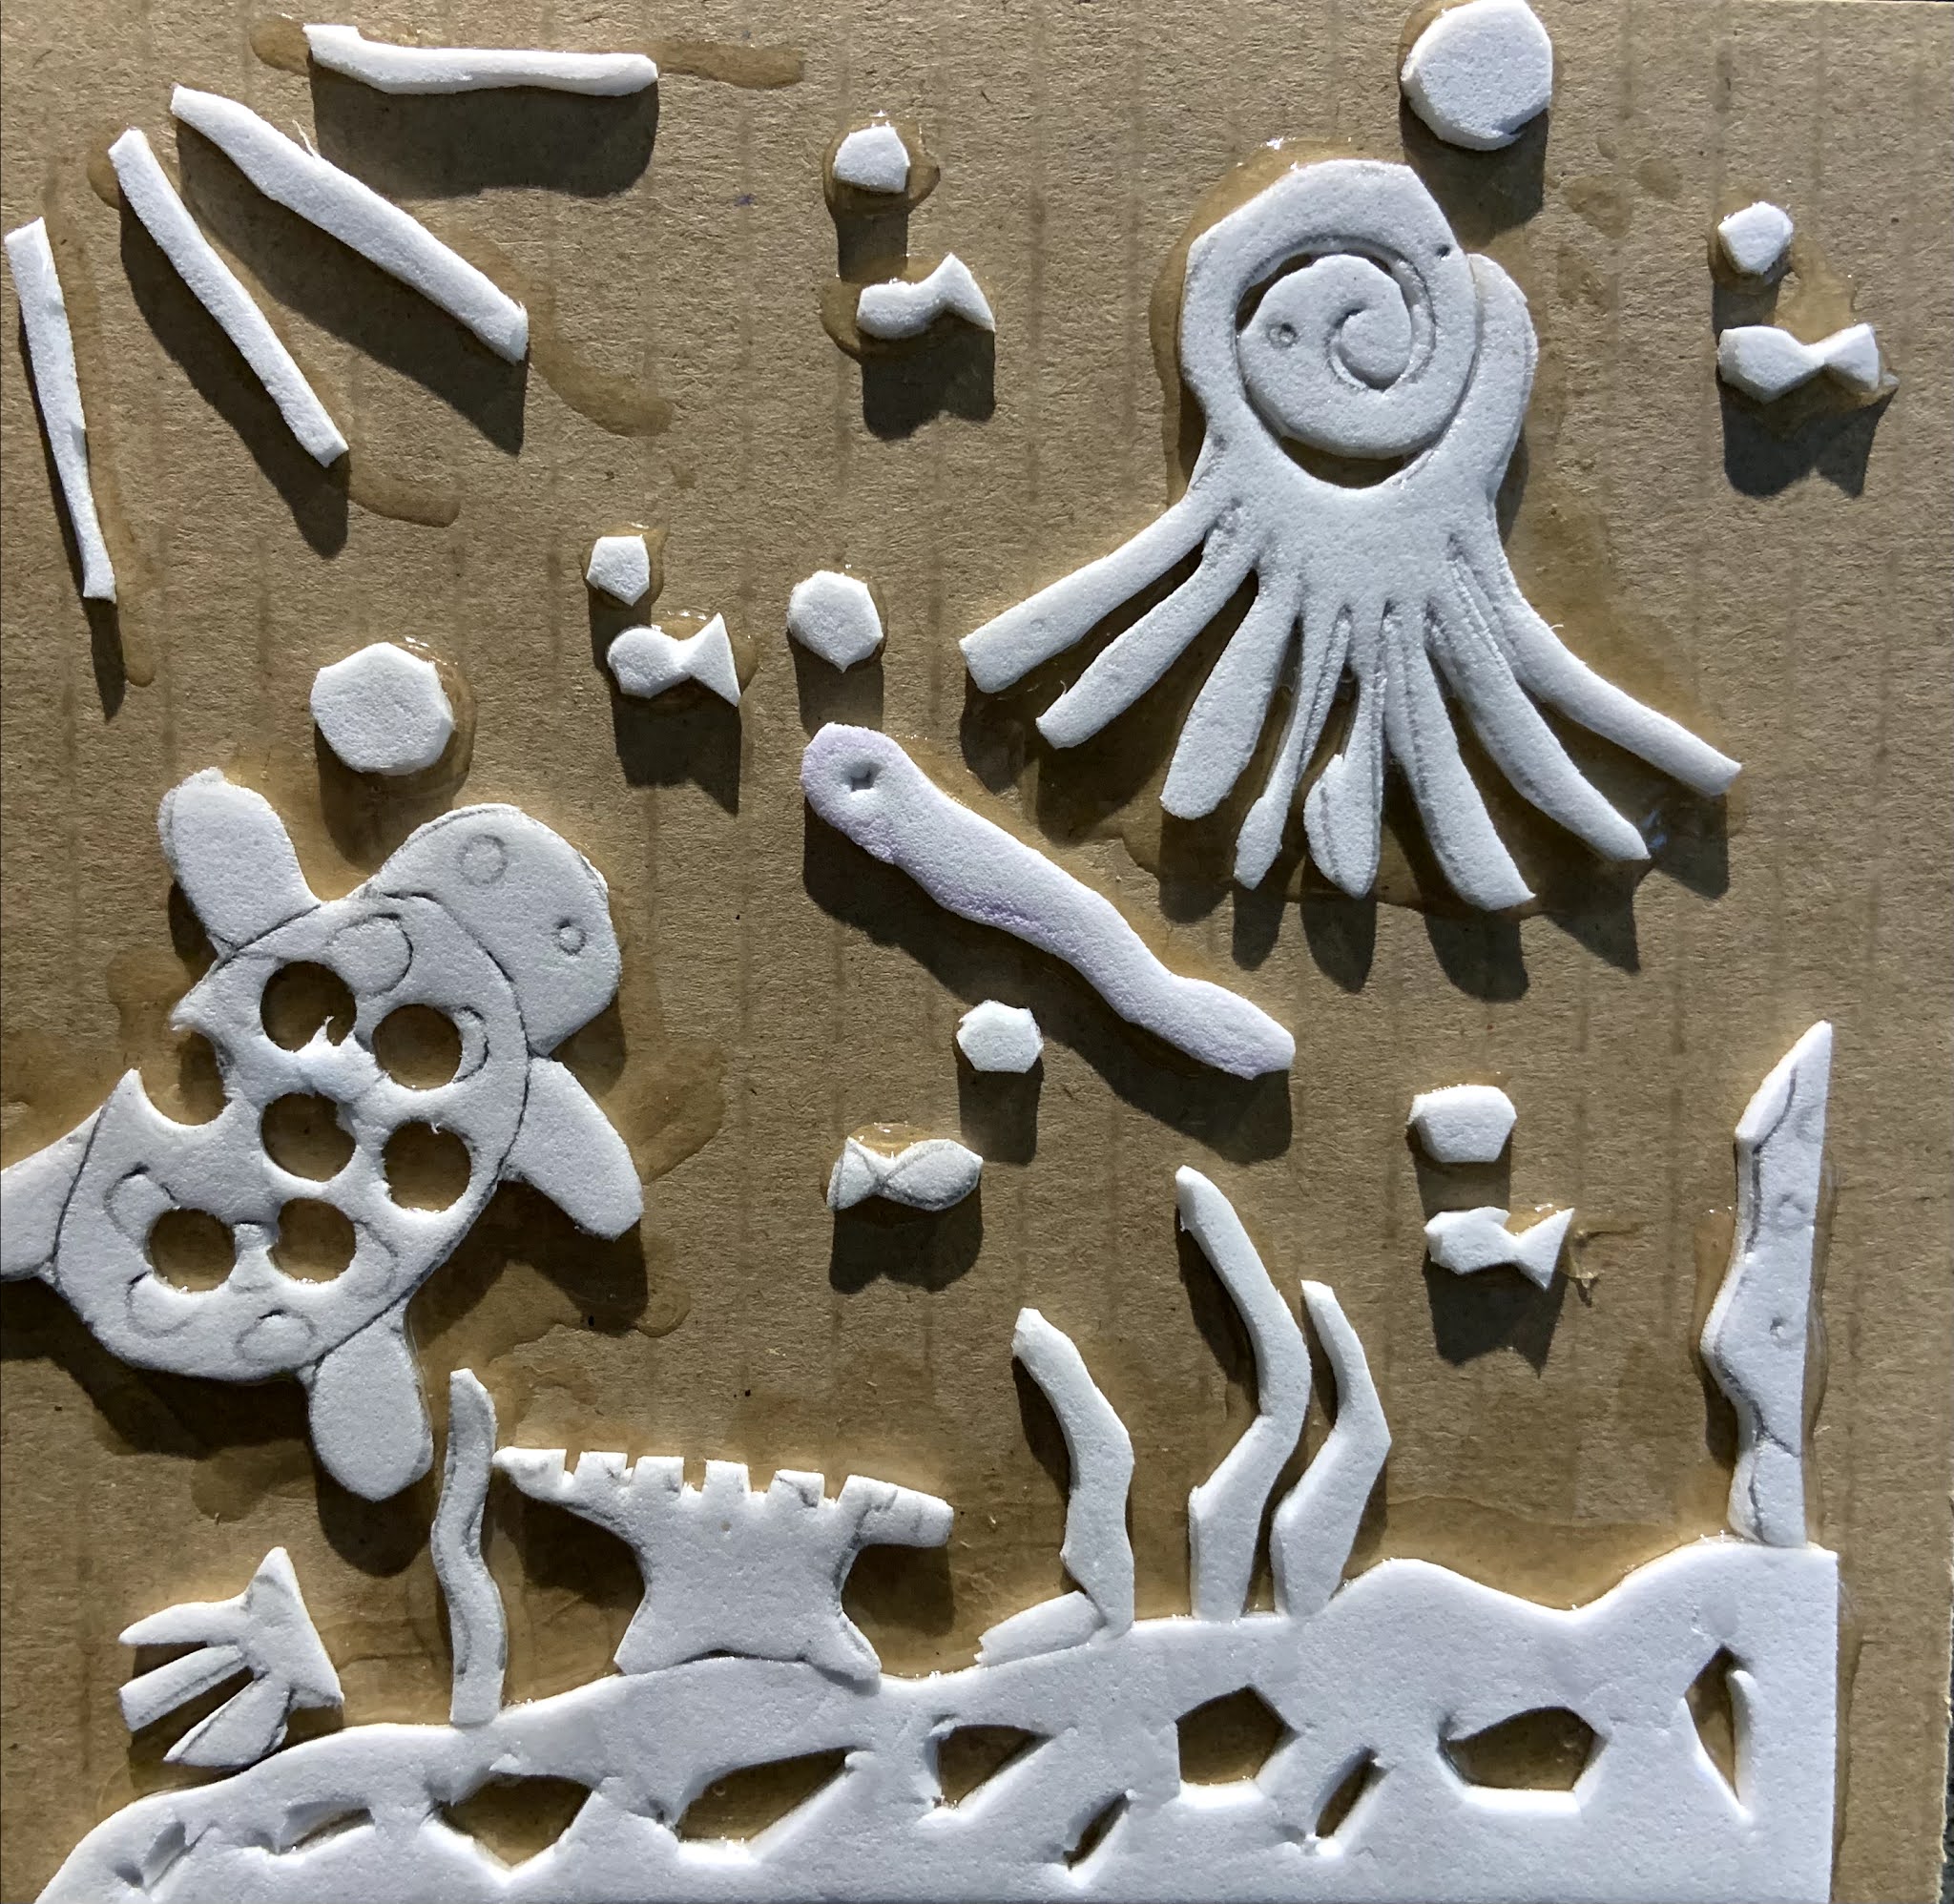
We built our scapes out of craft foam. First we drew all shapes out on the foam, making sure to position them as close together as possible, allowing for many shapes to be created. Then ONE BY ONE, we cut out our biggest shape, positioned it, and glued it onto our cardboard. We cut and glued out one shape at a time so we could think about balancing shapes and different sizes in our composition.
Once all glued down, we let it dry overnight. The next day, we took a PROOF PRINT of our scape, using Washable Crayola markers to colour foam. We misted our SKBK page and pressed our design into a slightly damn surface. Viola! This print allowed us to see what our shapes looked like and if we had used the 'canvas' space to depict the best scape possible. Lots of details or shapes leads to more interest.
Here are just a few different SCAPE examples. ENJOY!
Ava
Joy
Gemma
Samantha
Ryann
Grace
If you have any questions, or photos to share, please contact me at:
the quality or state of being conscious or aware of something.
"their mindfulness of the wider cinematic tradition"
2.
a mental state achieved by focusing one's awareness on the present moment, while calmly acknowledging and accepting one's feelings, thoughts, and bodily sensations, used as a therapeutic technique.
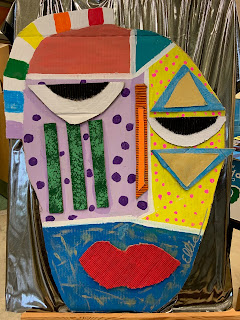
Students at SMS, and teachers, are finding their stress levels elevated this year
with all things COVID19 in our school day!
So, we looked at Mindfulness in Art and how to achieve some level
of calm in our day. We listened to ocean, rainforest, rain sounds and Spa music.
You could hear a pin drop as all conversation ceased, allowing the brain to switch over
from the speech to the creative side. Students relaxed and, in essence, just doodled.
The final step was to include a 'WHAT STRESSES ME' statement on the back of their project.
Below are the steps we took to complete this project.
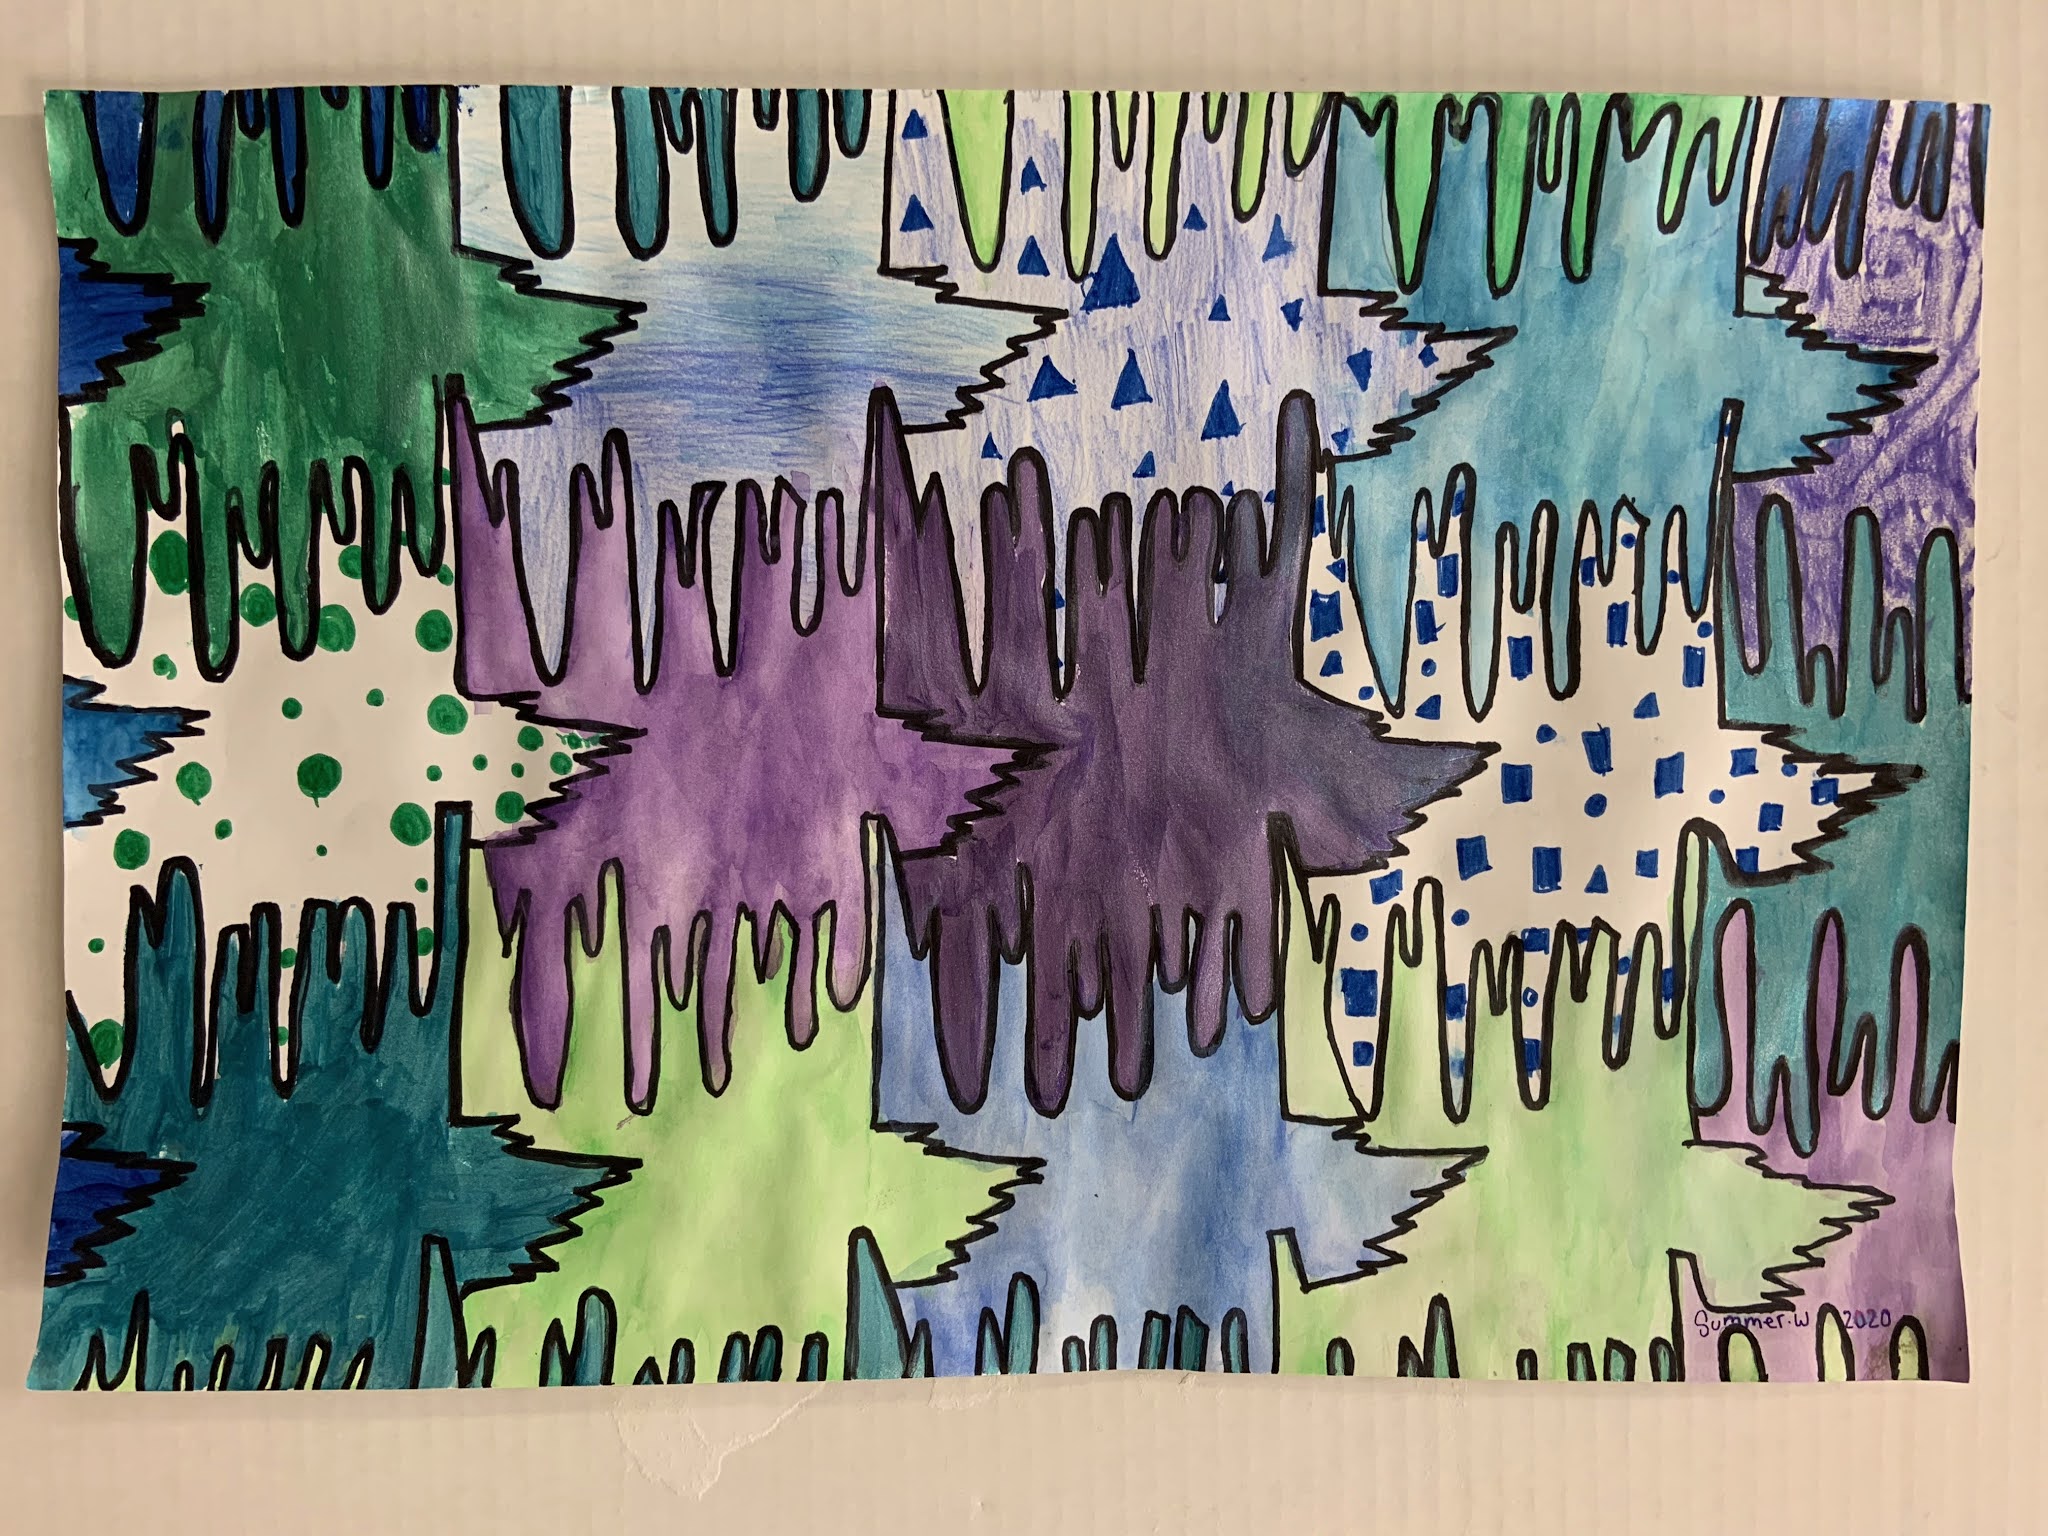
We let ourselves be absorbed in an art activity with black sharpie (and eventually colour).
Step 1: Use 5 organic or wavy, flowing lines. Line 1 starts on the top and finishes on the bottom. Line 2 starts on bottom and finishes up on either side of paper. Continue with lines 3-5.
 Artist: Janessa W (Inktense pencils)